That’s how quickly your Backroad AL is set up

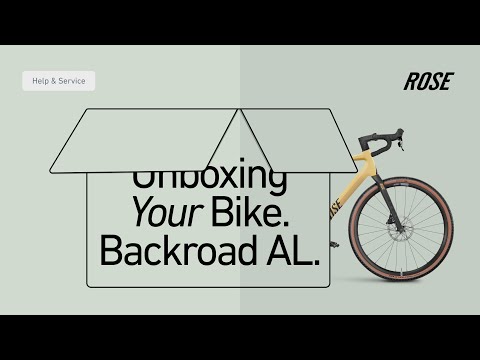
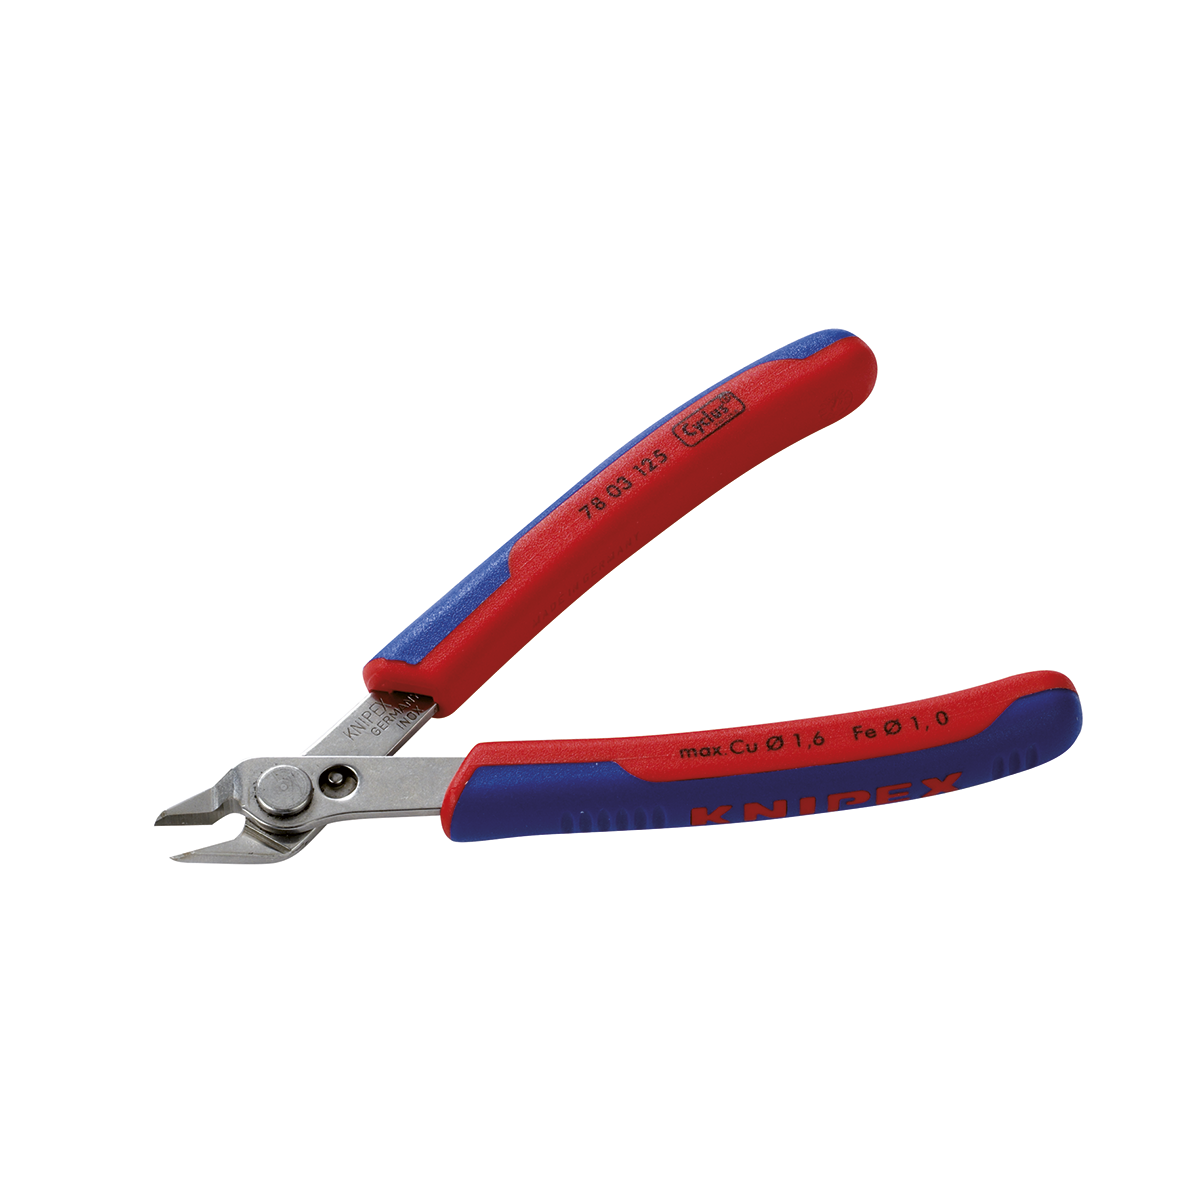
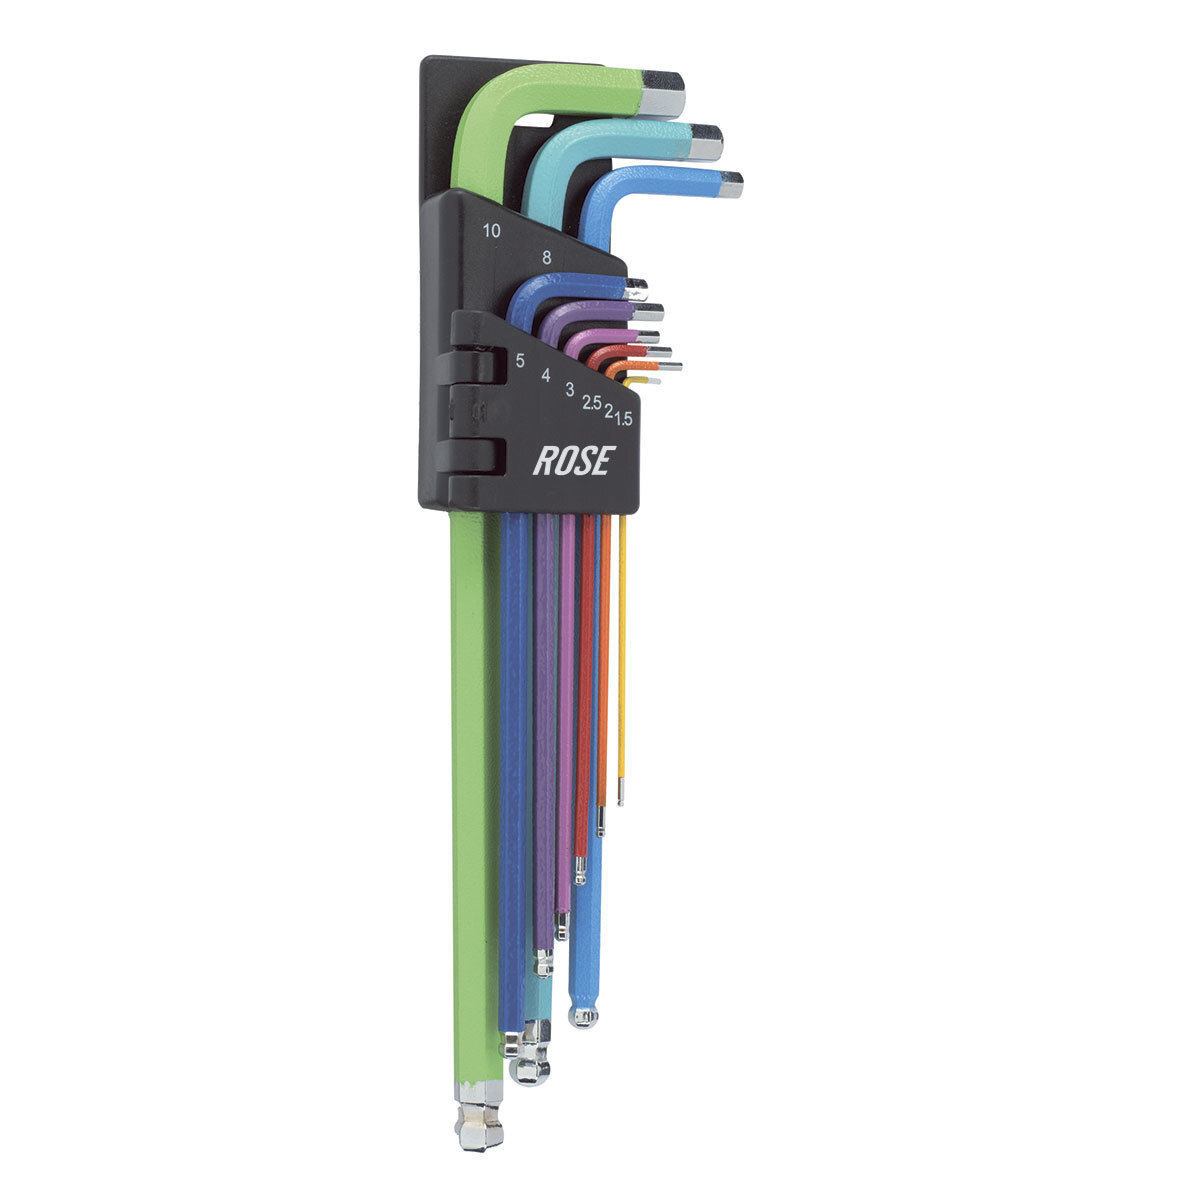
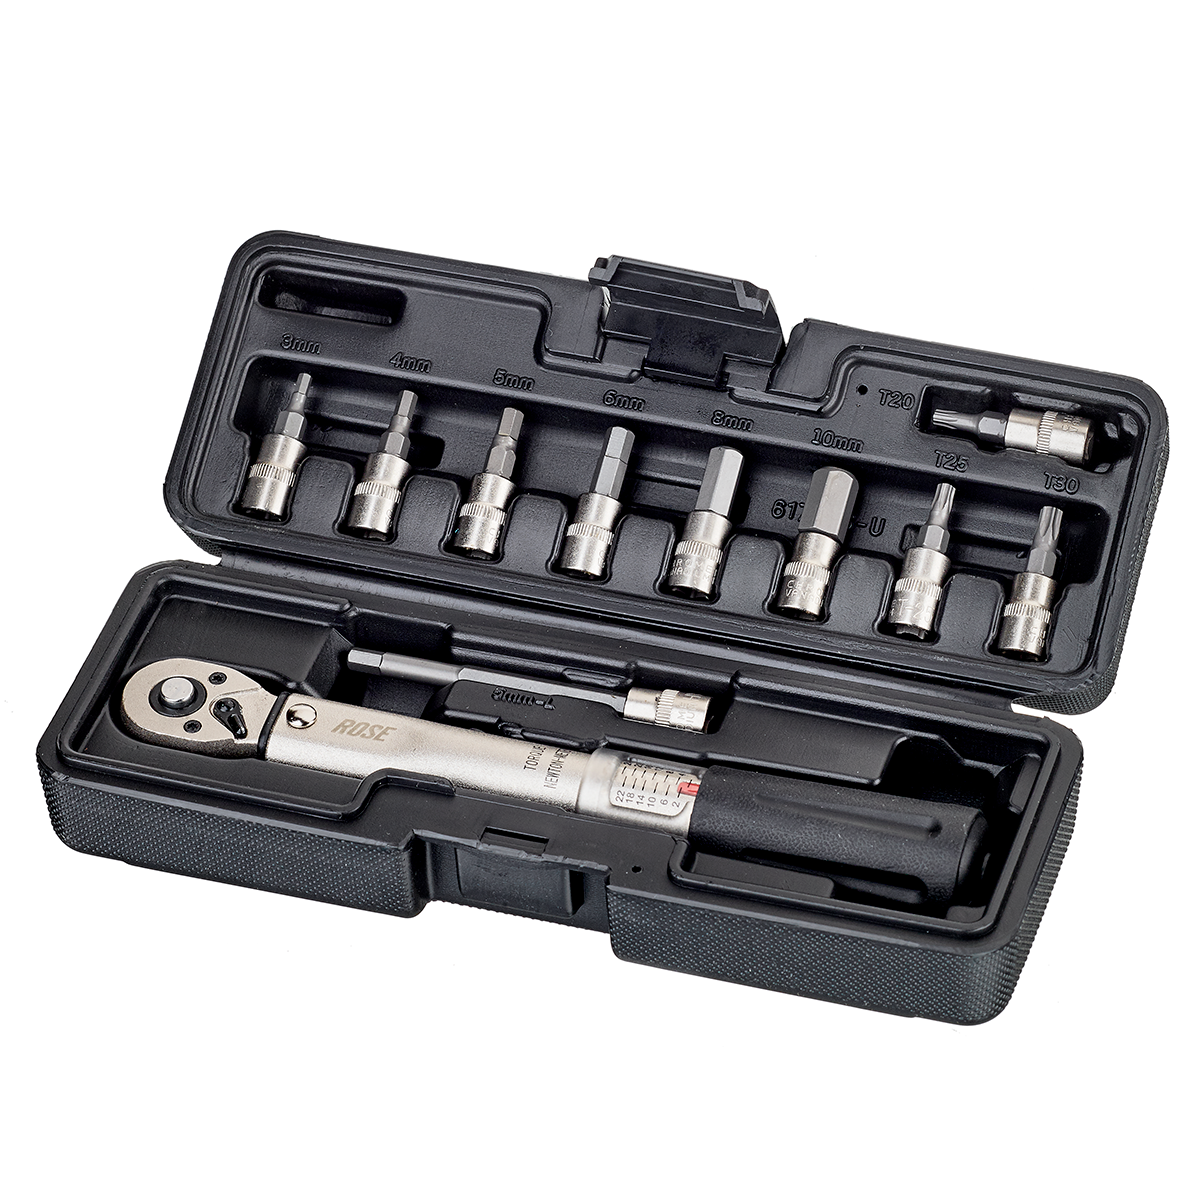
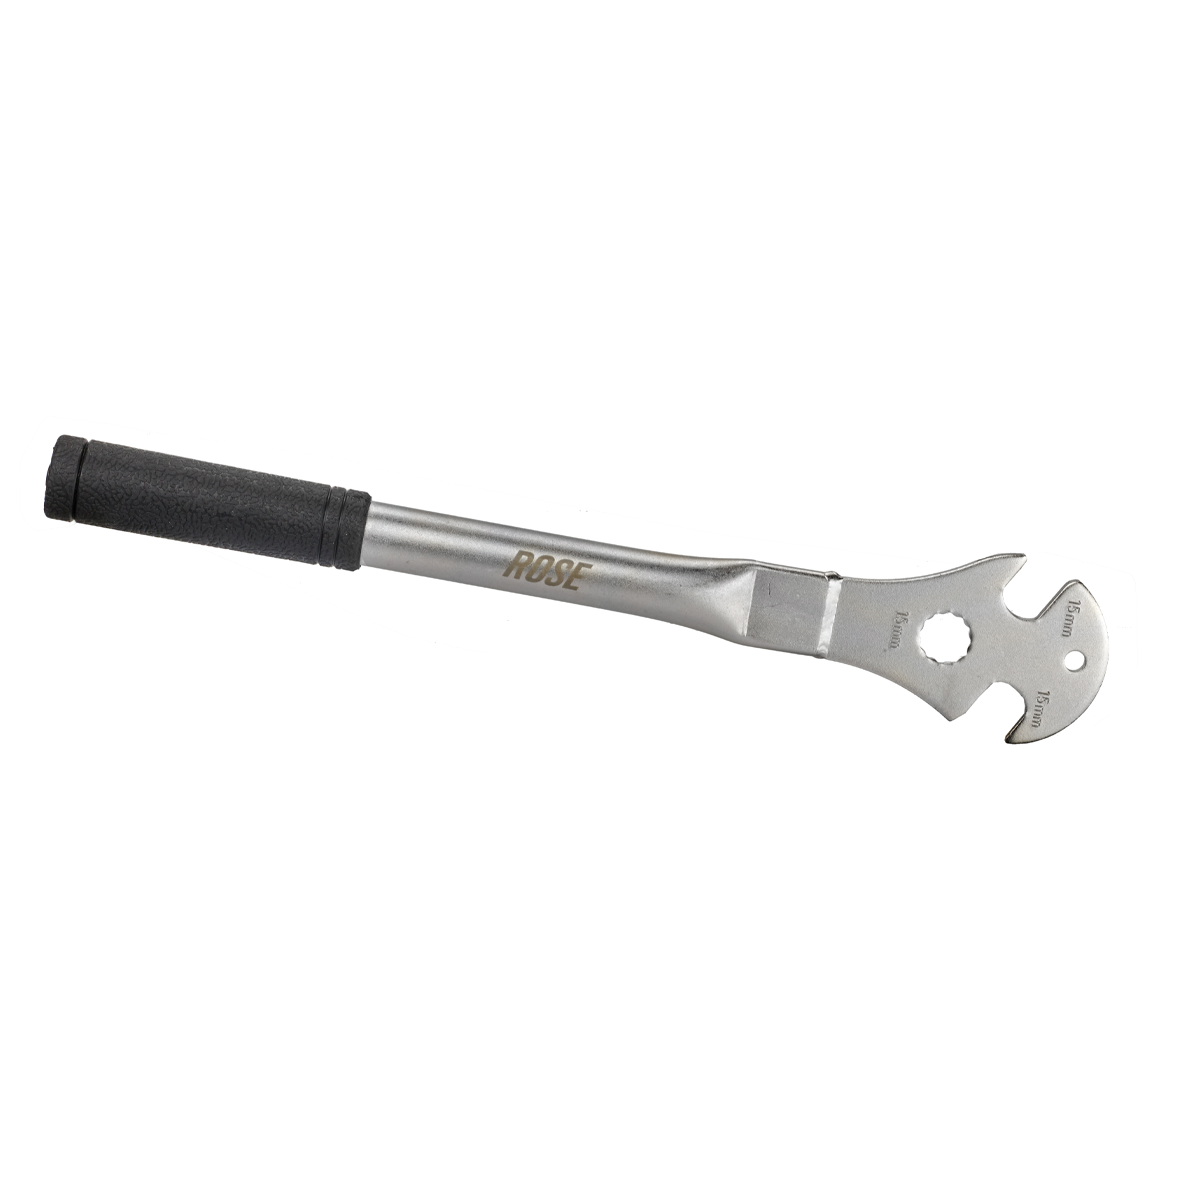
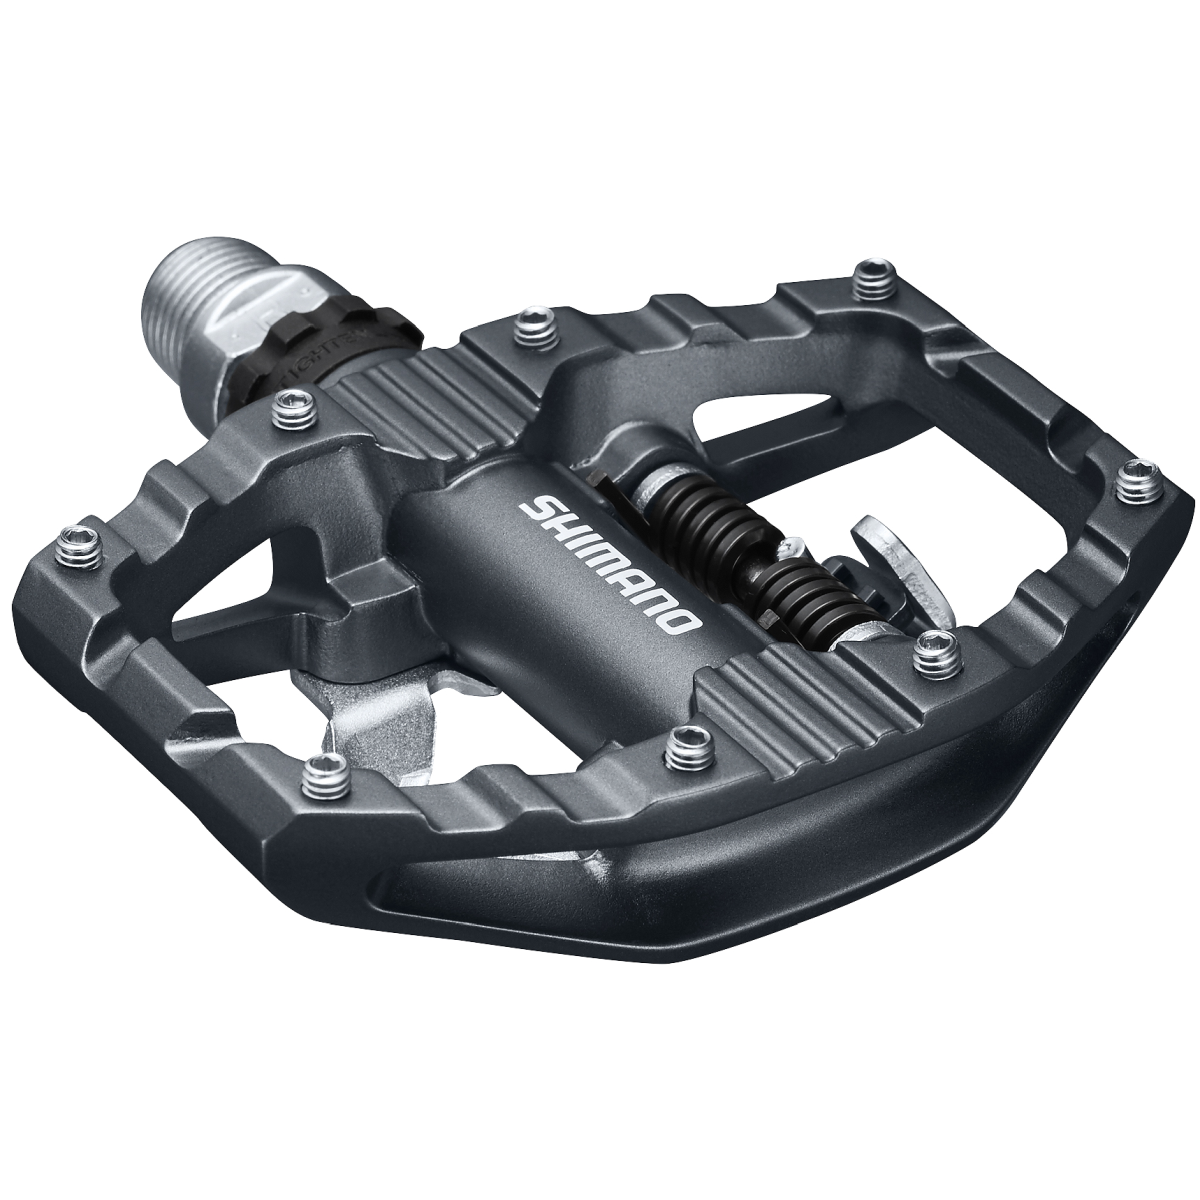
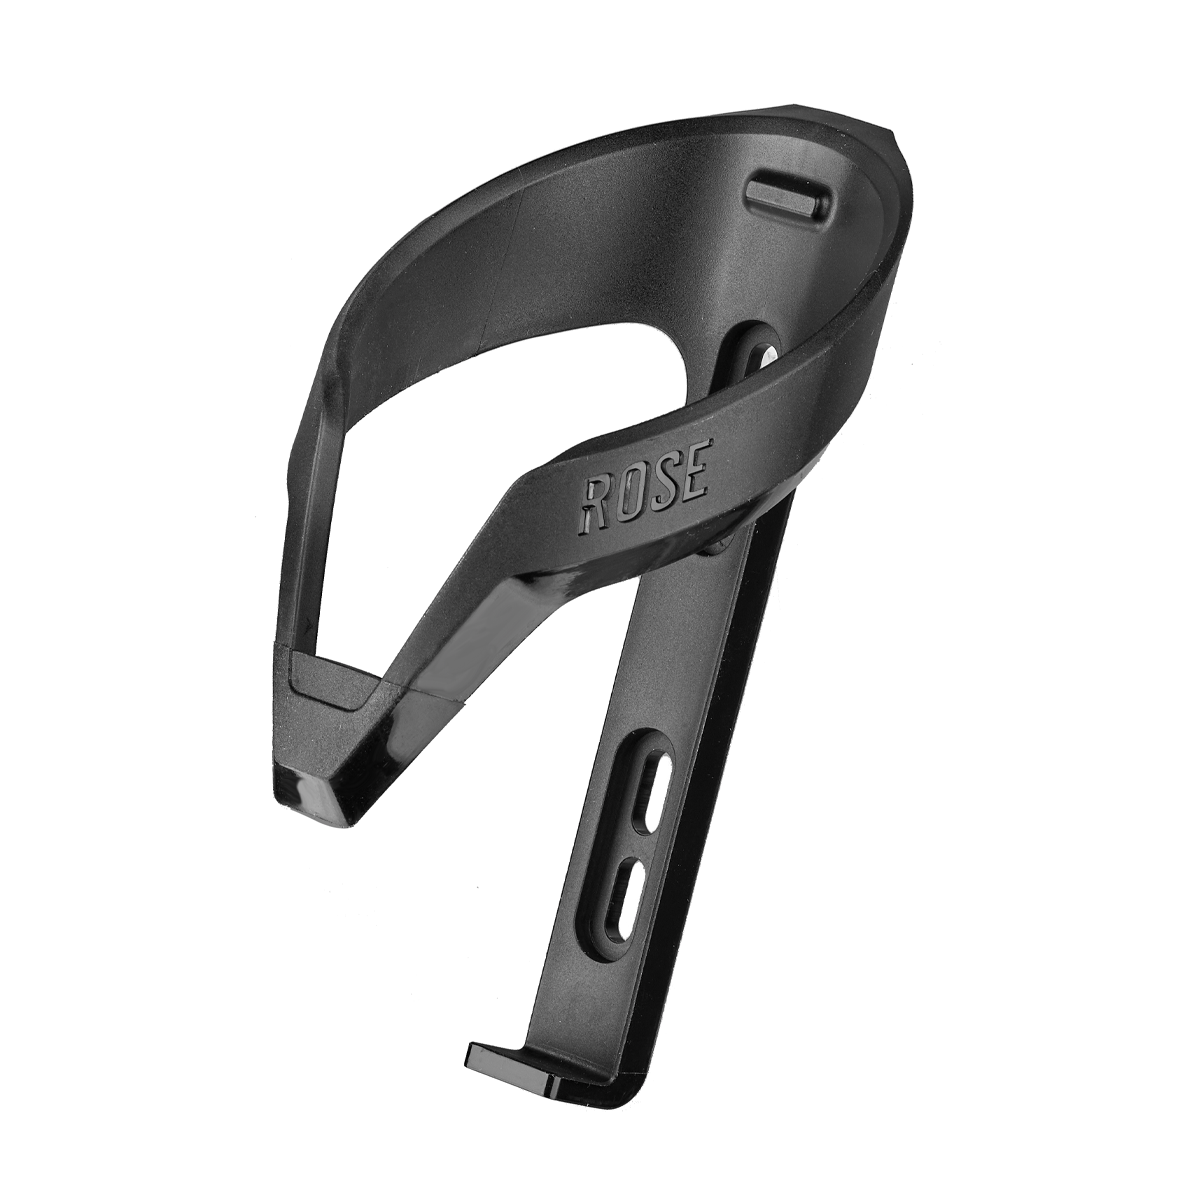
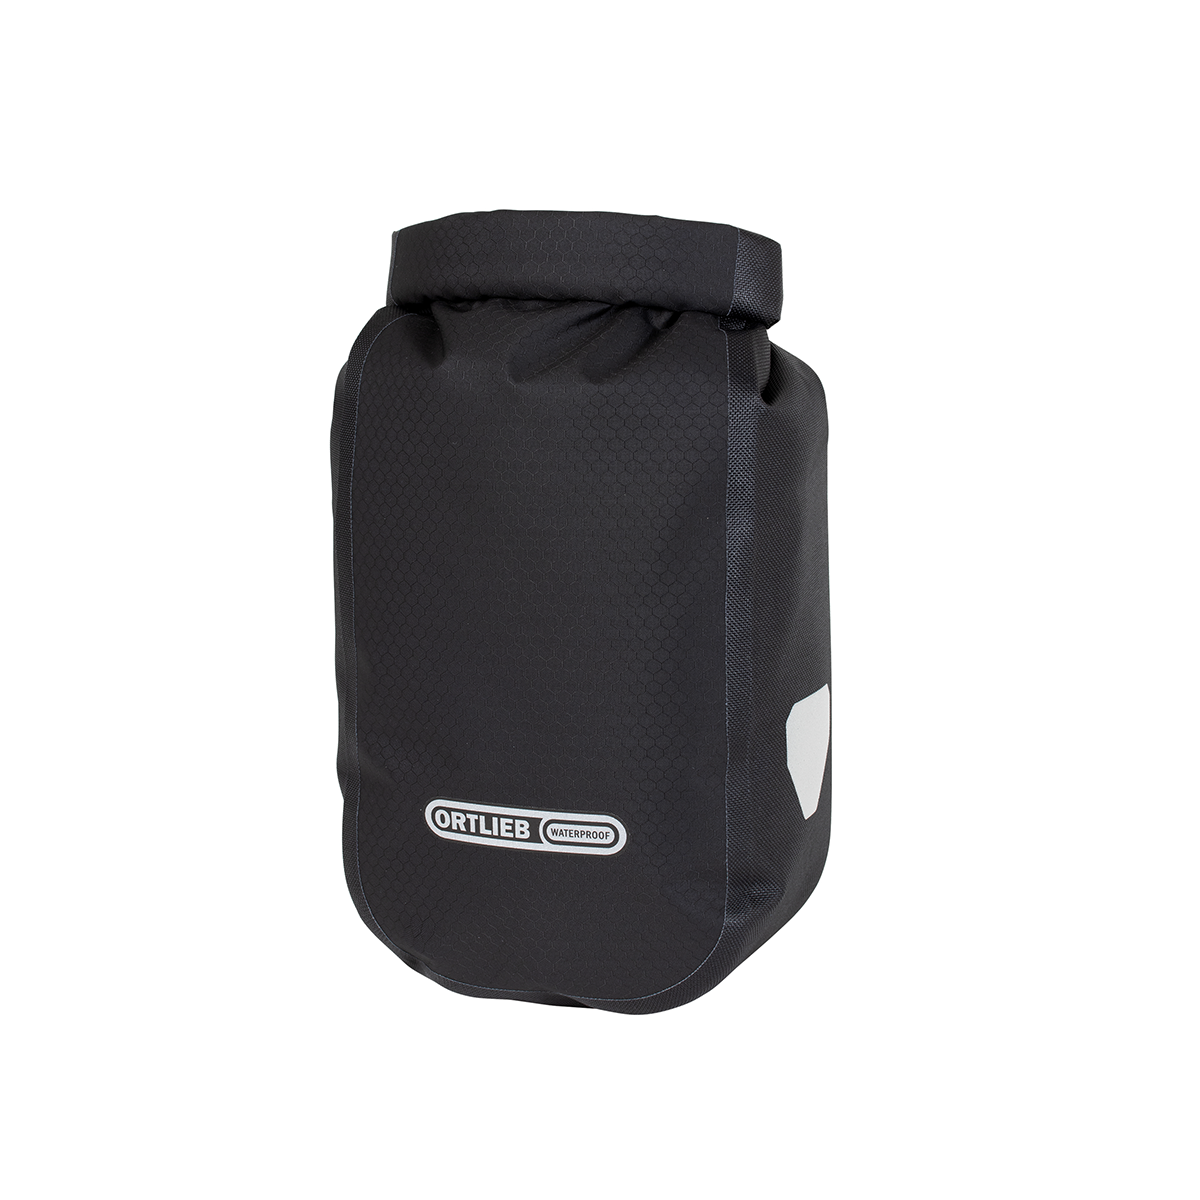
The parcel has been delivered and you want to test your new bike as soon as possible? With the right tools, setting up your Backroad AL is quick and easy. Here you can find out step by step what you need and how the assembly works.

We need your consent to load Youtube.

We use a third-party service to embed video content such as from Youtube. This service may collect data about your activities. Please read the details and agree to use the service to view this video.

Tools

You need

  • Diagonal cutting pliers or scissors
  • Hex wrenches (8, 6, 5, 4 mm)
  • Torque wrench with bits (8, 6, 5, 4 mm)
  • 15 mm spanner (for pedals without hexagon socket)
  • Grease (mounting or bearing grease)
ROSE Backroad Unboxing 16x9 1 jpg

Step 1: Unpacking

  • Open the box and take out the parts. In the manual you will find instructions on the assembly and the required torques.
  • Place the bike in a stand or ask someone else to hold it.
  • Remove the packaging material. For zip ties, use diagonal cutting pliers or scissors.
  • Remove the rubber band from the brake lever. The red pad spacer remains between the brake pads until the wheel is installed.
ROSE Backroad Unboxing 16x9 korrektur jpg

Step 2: Fitting the seat post

  • Insert the seat post into the seat tube until the mark for the minimum insertion depth is no longer visible.
  • Secure it to the top tube using the clamp screw. Use the torque spanner and set it to 4.5 Nm. The torque is reached as soon as its head deflects during screwing.
  • If you have a workstand, you can now clamp the bike into the stand by the seat post.
ROSE Backroad Unboxing 16x9 1 1 jpg

Step 3: Fixing the handlebar

  • Hold the fork firmly with one hand and turn the stem until it is aligned with the fork.
  • Move the handlebar upwards. It will be aligned later.
  • Tighten the handlebar clamp screws on the stem slightly to fix the handlebar. The top two of the four screws must always be fully screwed in (no-gap marking).
ROSE Backroad Unboxing 16x9 1 2 jpg

Step 4: Setting up the headset

  • Remove the dust cap from the headset screw. Use it to adjust the headset play.
  • Tighten the screw slightly to the point that the fork can be rotated without friction, but with no lateral play.
  • Now you can tighten the stem slightly using the side clamp screws to fix it in place.
  • Then put the dust cap back on again.
ROSE Backroad Unboxing 16x9 1 3 jpg

Step 5: Installing the wheel

  • Loosen the thru axle with a 6 mm hex wrench, pull it out of the fork and place it within easy reach.
  • Pull the red pad spacer out of the brake calliper and keep it for later transport.
  • Position the front wheel into the fork from below. The brake disc must sit between the brake pads and the hub between the dropouts of the fork. Be careful not to touch the brake disc with your fingers.
ROSE Backroad Unboxing 16x9 1 4 jpg

Step 6: Aligning the handlebar and stem

  • Take the bike out of the workstand and place it horizontally on the ground.
  • Adjust the tilt of the handlebar so that the handlebar plugs are at a 90° angle to the ground.
  • Tighten the handlebar clamp bolts to 6 Nm. The upper screws must always be fully screwed in so that no gap is visible.
ROSE Backroad Unboxing 16x9 1 5 jpg

Step 7: Mounting the pedals

  • Check the labelling (usually printed) on the pedal sides, take the left pedal and apply some grease to the pedal thread.
  • Insert an 8 mm hex wrench from the back through the crank arm, place it on the pedal axle and tighten the pedal by turning it clockwise.
  • Repeat this process with the right pedal. Note that the right pedal is screwed in anti-clockwise.
  • Tighten both pedals to 35 Nm. Use the switch function on the torque wrench for this.
  • Note: Some pedals only have an outer mount for 15 mm spanners. This changes the perspective of the screw-in direction accordingly.
ROSE Backroad Unboxing 16x9 1 6 jpg

Step 8: Adjusting the saddle

  • Sit on your bike with cycling shoes and test the seat height. With the pedal down, the knee should only be slightly bent.
  • Adjust the seat height via the insertion depth of the seat post and then tighten it to 4.5 Nm.
  • If necessary, adjust the tilt and position of the saddle. To do this, loosen the clamp screw on the head of the seat post by about 2-4 turns. The saddle should be positioned horizontally or minimally tilted forwards. When moving forwards or backwards, also note the limits printed on the saddle rails.
  • Then tighten the saddle clamp screw again to 12 Nm.

Your Backroad AL is now ready to ride. Have fun on your first test ride. You can find more helpful tutorials in our magazine section. If you have any questions, our service team will also be happy to help you.